![[Translate to English:]](/fileadmin/content/main/news/News/Werkstatttipp_titelbilder/Werkstatttipp_Reifenmontage.jpg "[Translate to English:]")
These workshop tips highlight the critical points along the fitting process and provide workshop employees with key knowledge around tyre fitting.
Before buying tyres
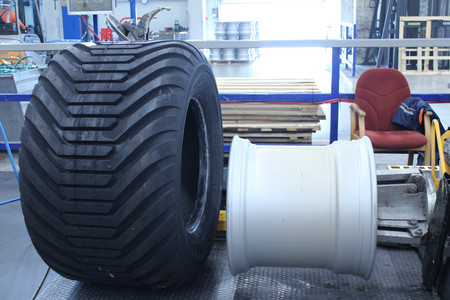
Tyre and rim must fit one another. In fact, different tyres of the same size may not be suitable for mounting on the same rim due to their design. Which rim is approved for mounting by the respective tyre manufacturer can ideally be requested from the tyre manufacturer or tyre wholesaler.
The assembly preparation
The rim must be cleaned and carefully checked (rust!); the same applies to used tyres (bead buckling!). Background: damaged tyres and rims can lose their integrity during and after mounting and cause accidents. The assembling personnel is responsible for safety and must refuse assembly in case of material damage.
Tyre tapes that hold a tyre in shape during storage must be removed before mounting.
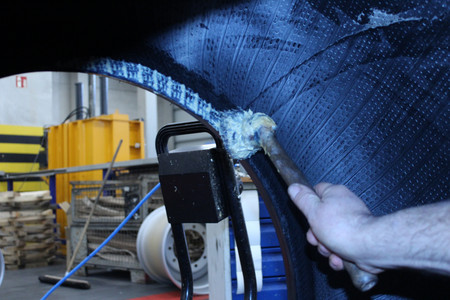
The tyre and rim must be rubbed with mounting paste (not mineral oil!) on the contact surfaces so that the tyre can slide more easily over the contact surfaces during mounting
- Asymmetrical rims must have the "narrow shoulder", i.e. the drop centre, pointing towards the tyre. This is the only way to pull the tyre bead into the drop centre - or into the lowest drop centre if there are several.
- Preparing the air booster insert
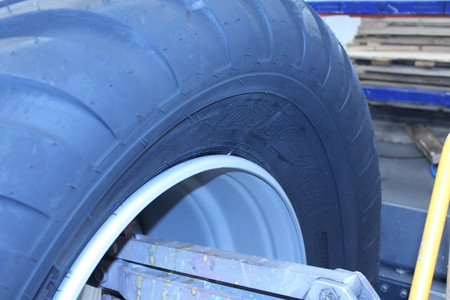
a. The tyre must already be flush against the rim on one side for this purpose
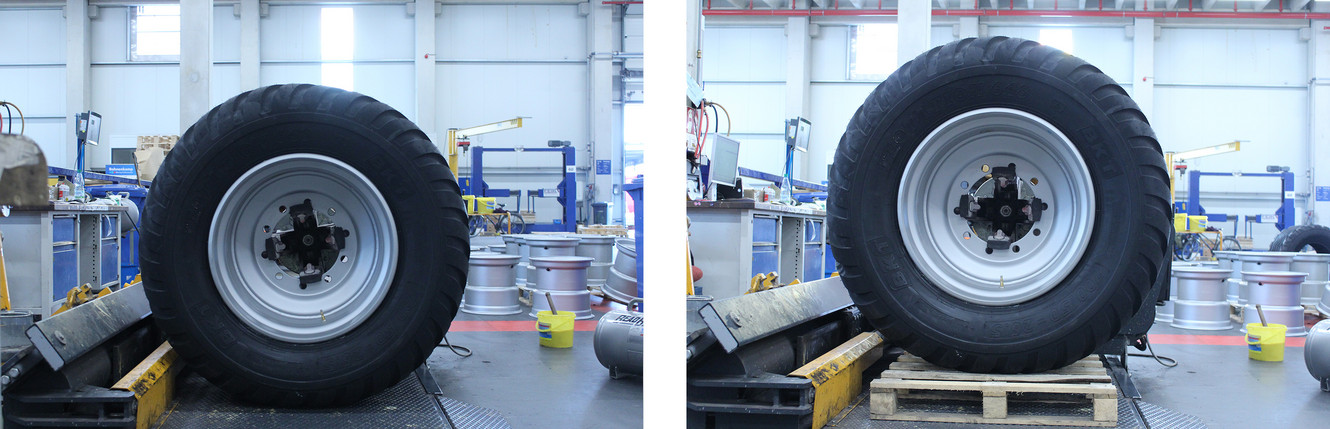
b. The rim must be positioned as symmetrically as possible to the tyre. Larger tyres are easier to align with the help of a pallet placed underneath.
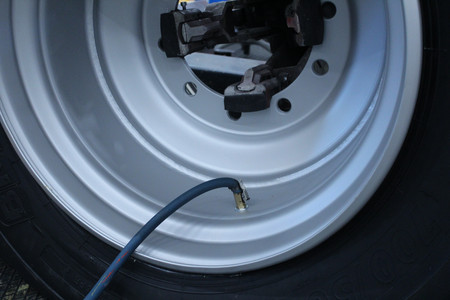
c. First place the air hose on the valve, then "shoot" with the booster.
d. Two boosters are used simultaneously from the right and from the left, either from the front or from the back.

- If the tyre maintains the air pressure, but the bead is not yet in contact with the rim flange, the pressure may be increased to a maximum of jumping pressure so that the tyre jumps from the drop centre over the rim hump into its final position.
Note: if even then the tyre does not settle, the pressure must not be increased further under any circumstances! Instead, it must be squeezed off, then, like the rim, lubricated again with assembly paste and put back on the rim
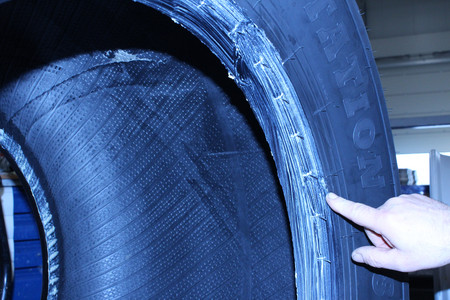
- If the concentric curves on the tyre are not parallel to the rim flange after the tyre has jumped, it is not yet seated properly. In this case, the prescribed tyre pressure may be exceeded by up to 50 percent (for example, from 2.4 to 3.6 bar), but not higher than 4.5 bar or up to the maximum permissible pressure of the tyre. The tyre then (and only then) sets itself into position by itself.
Finally, please note: only trained personnel may mount tyres, because improper tyre mounting poses dangers. The specialized trade and relevant associations offer appropriate tyre mounting training, such as Bohnenkamp AG at www.bohnenkamp.de/schulungen.