![[Translate to English:]](/fileadmin/content/main/news/News/Werkstatttipp_titelbilder/Werkstatttipp_Kleinreifen.jpg "[Translate to English:]")
Preventive also applies here – the correct tyre pressure prolongs the life of the tyre.
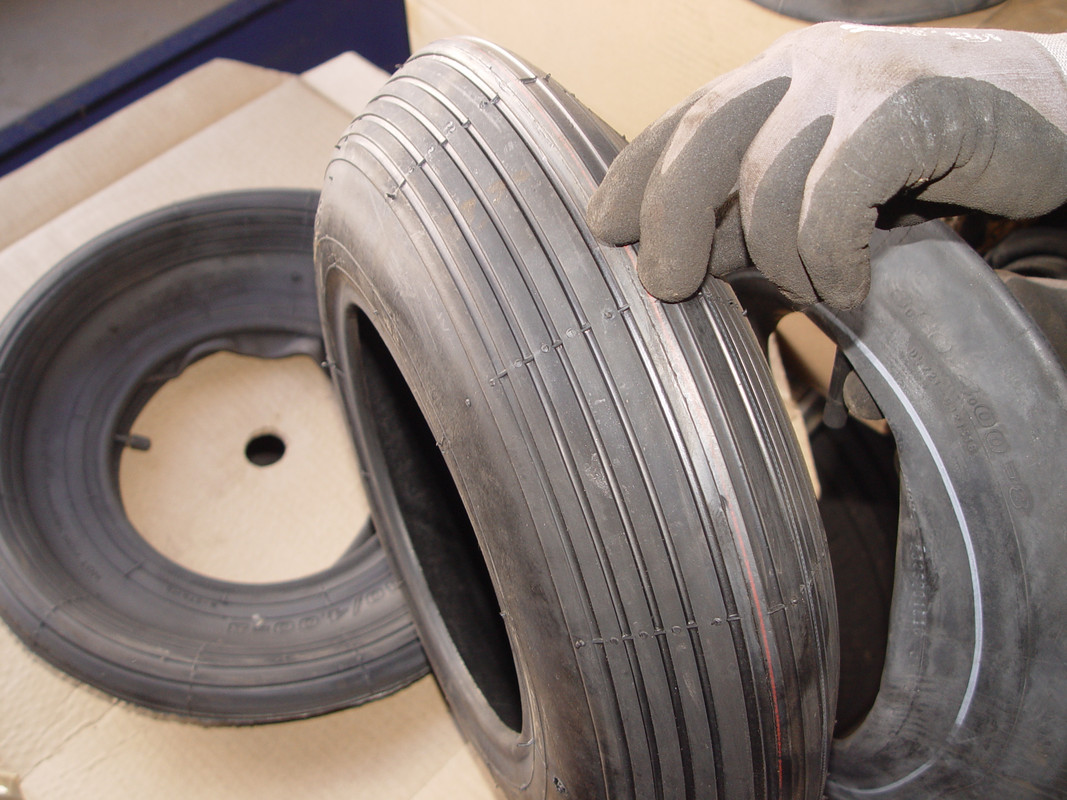
If it's sufficient and, above all, has the optimal tread pattern, the work is made easier.
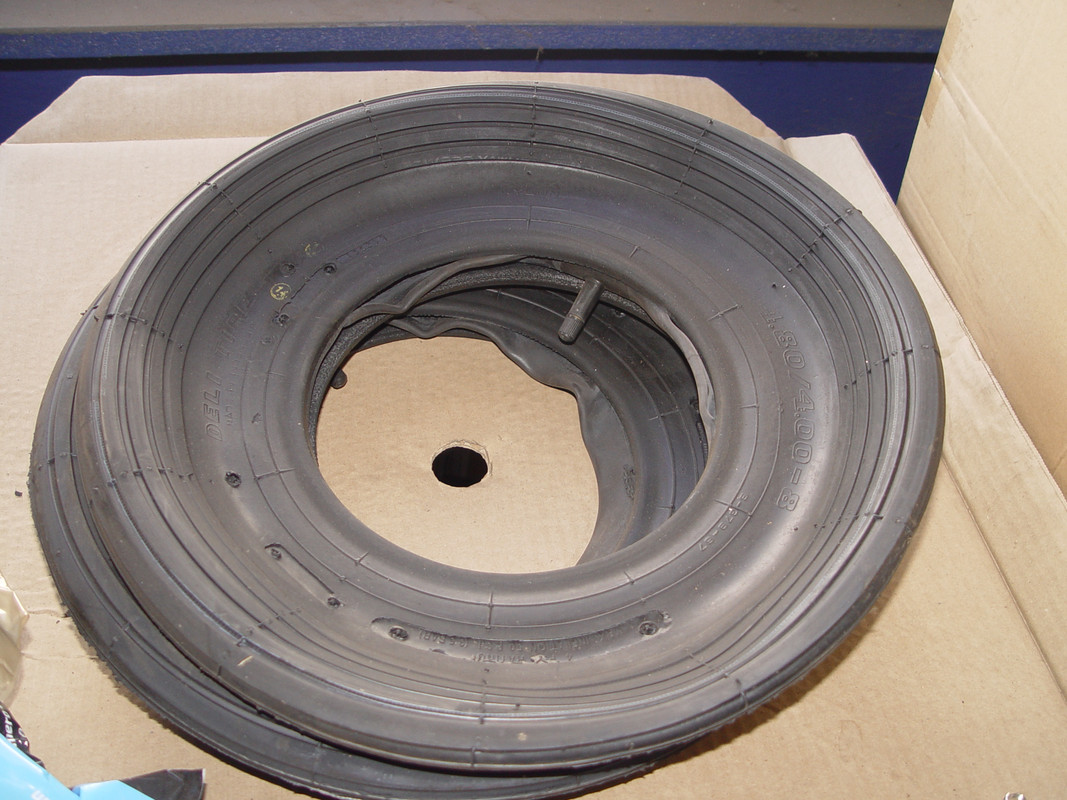
On delivery, the tyre covers seem quite deformed at first glance. Some covers can be shaped manually, for others it is sufficient to insert the tube and inflate them.
To put on the new tyre cover, the old one has to come off. Even when demounting, there is a lot to consider to avoid damaging the rim and the cover.
Preparation
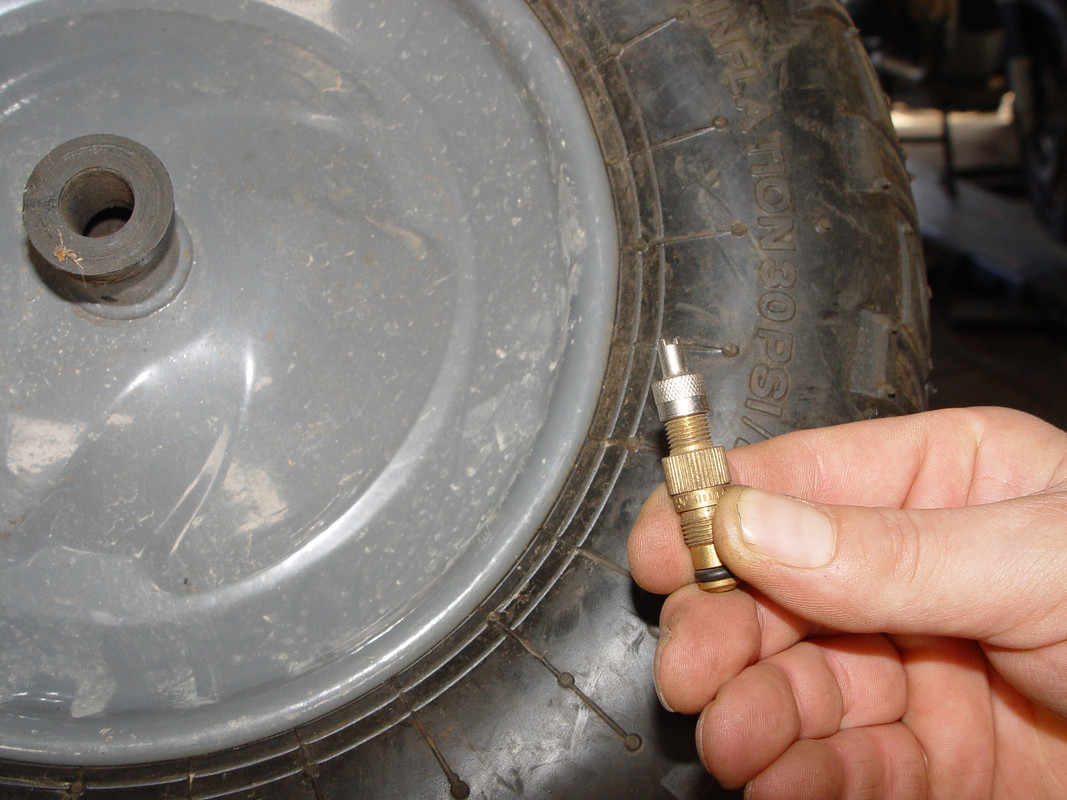
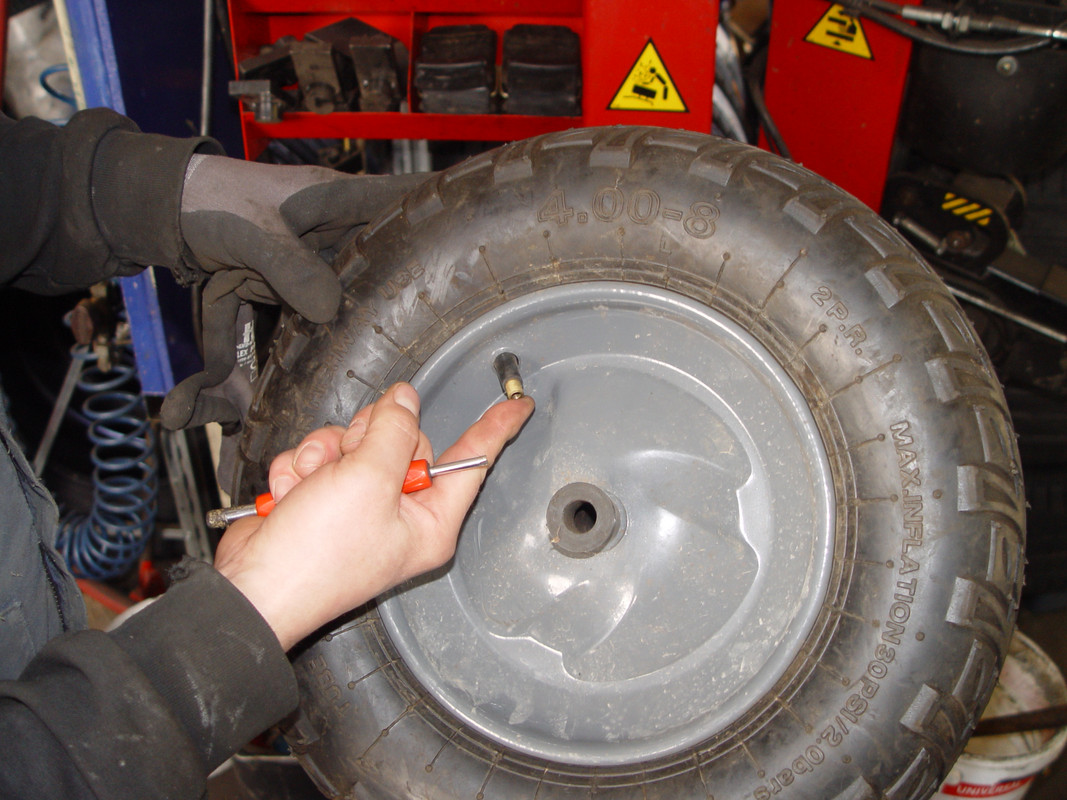
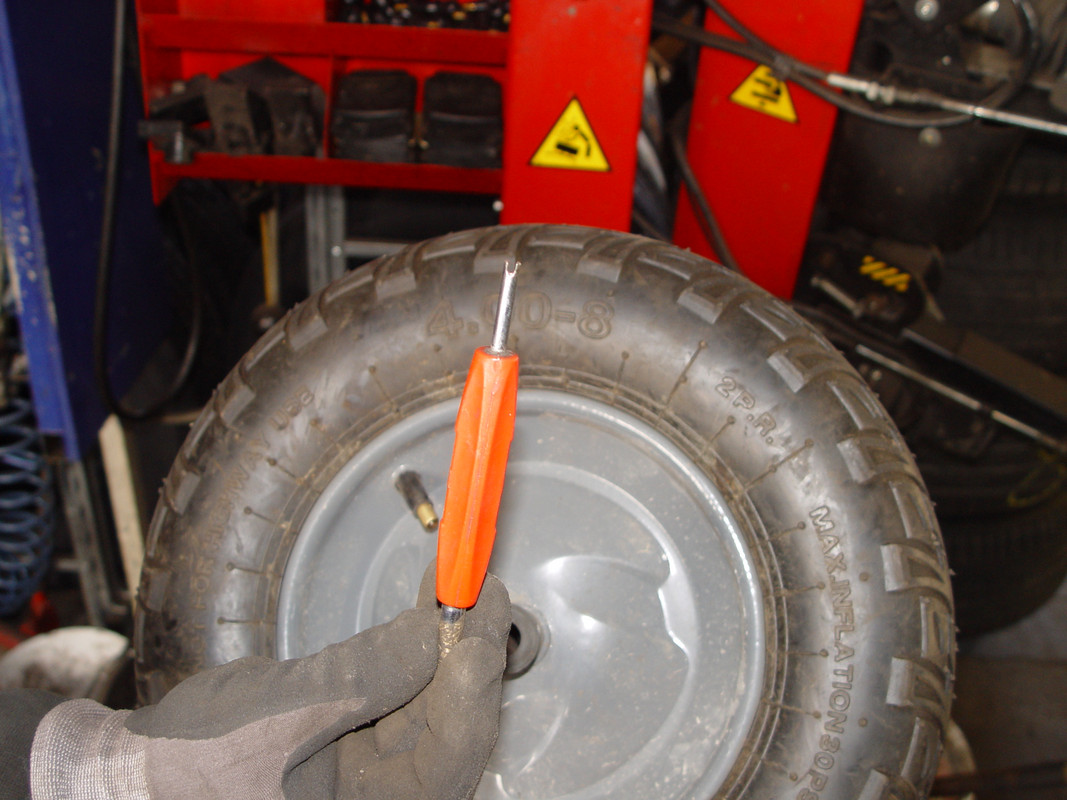
The air must be completely out of the tyre. The easiest thing to do is use the valve rotator. Once the air is out, demounting can be started.
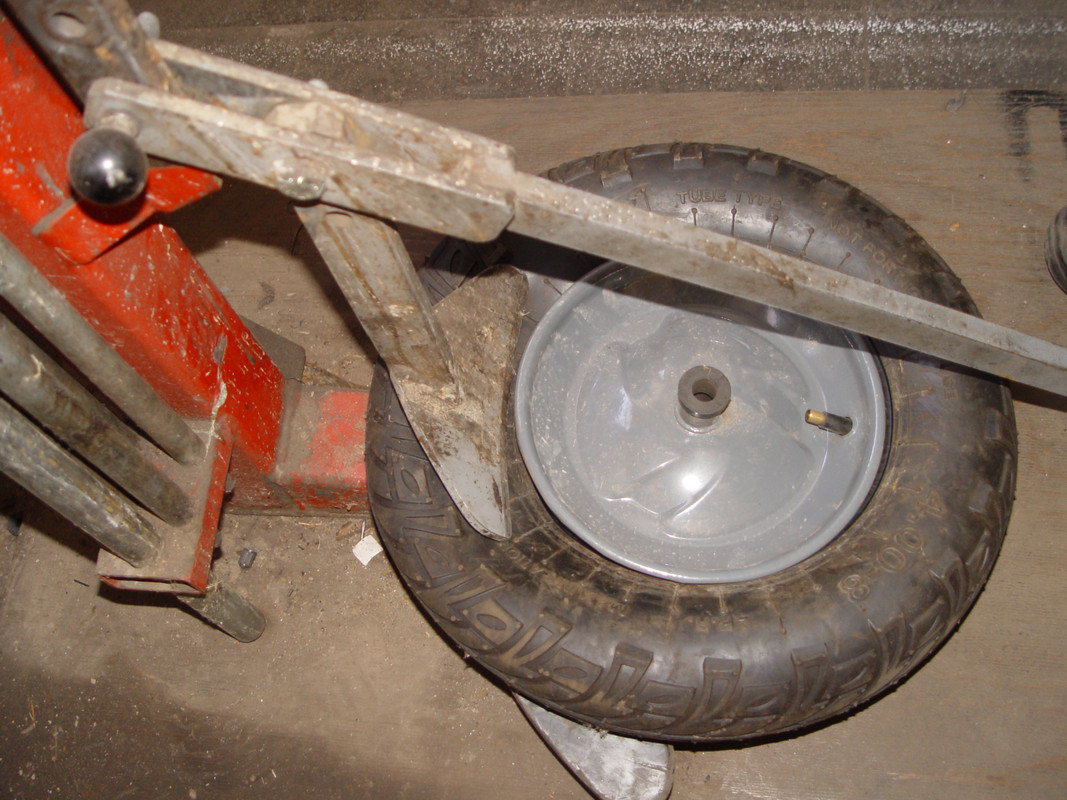
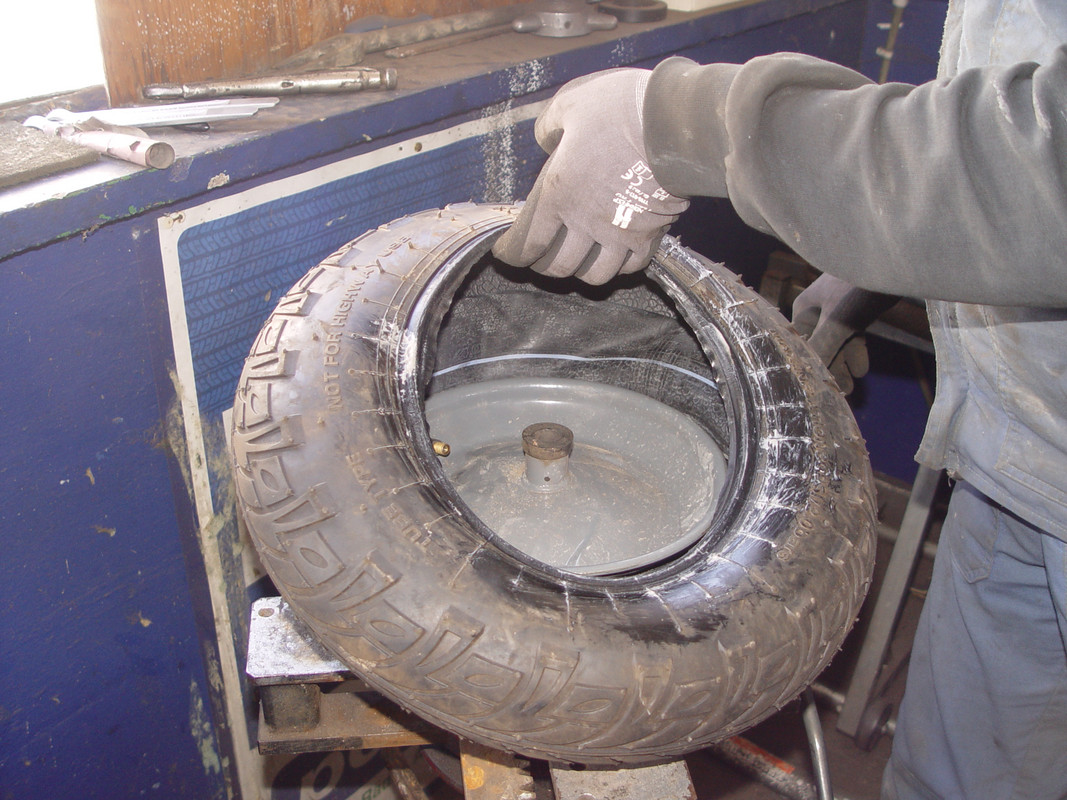
Loosening the cover works best with the mounting device. Here, you start opposite the valve, with the loosening of the cover from the rim.
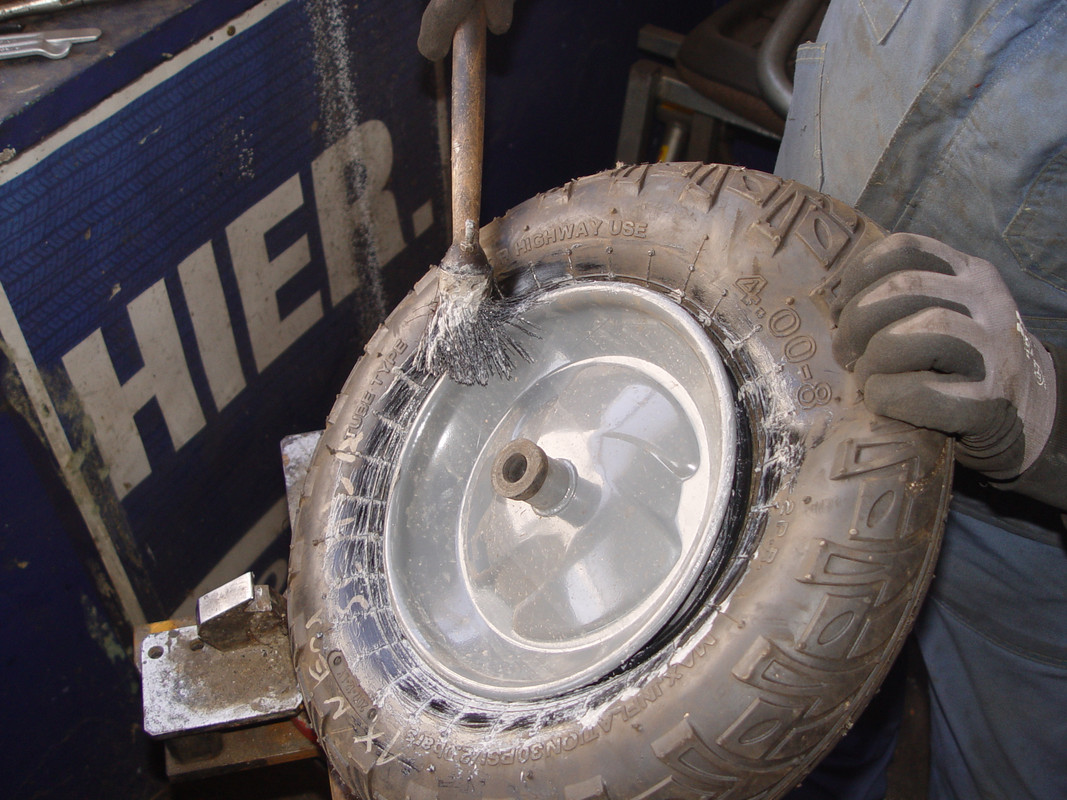
Good lubrication means good driving – an old saying. Once the cover is loosened, grease is applied between the rim and the bead of the cover: assembly grease is ideal for this: This facilitates demounting as well as mounting and even the rim and cover.
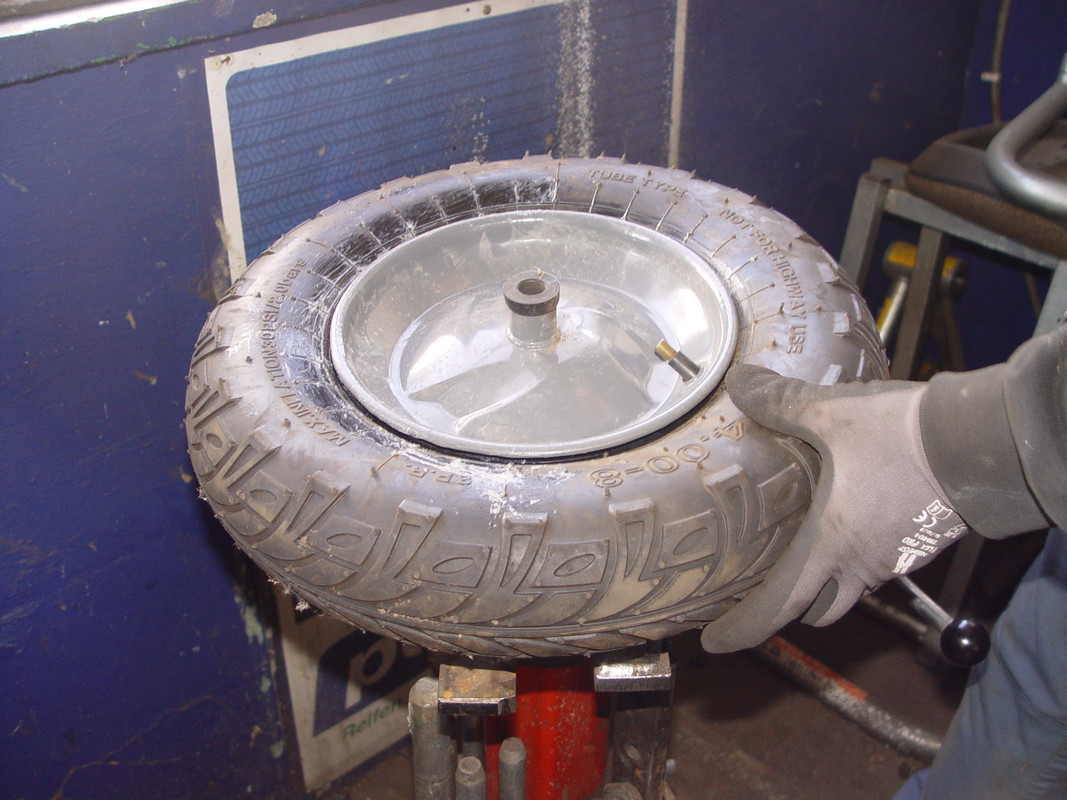
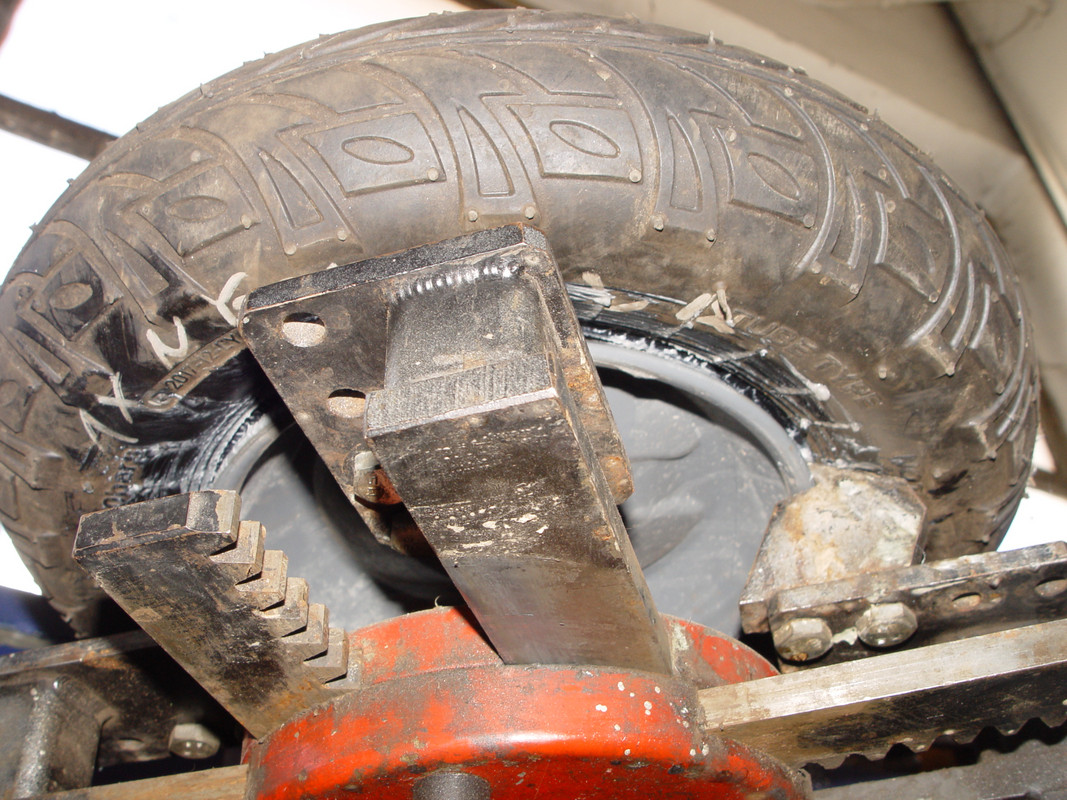
The safest way is to use the mounting levers. They are rounded and with the curvature at the end they grip well in the space between the rim and the tyre.
The tool is placed next to the valve and from there you work around the rim and lever the cover over the rim edge. The better it is greased, the easier it is.
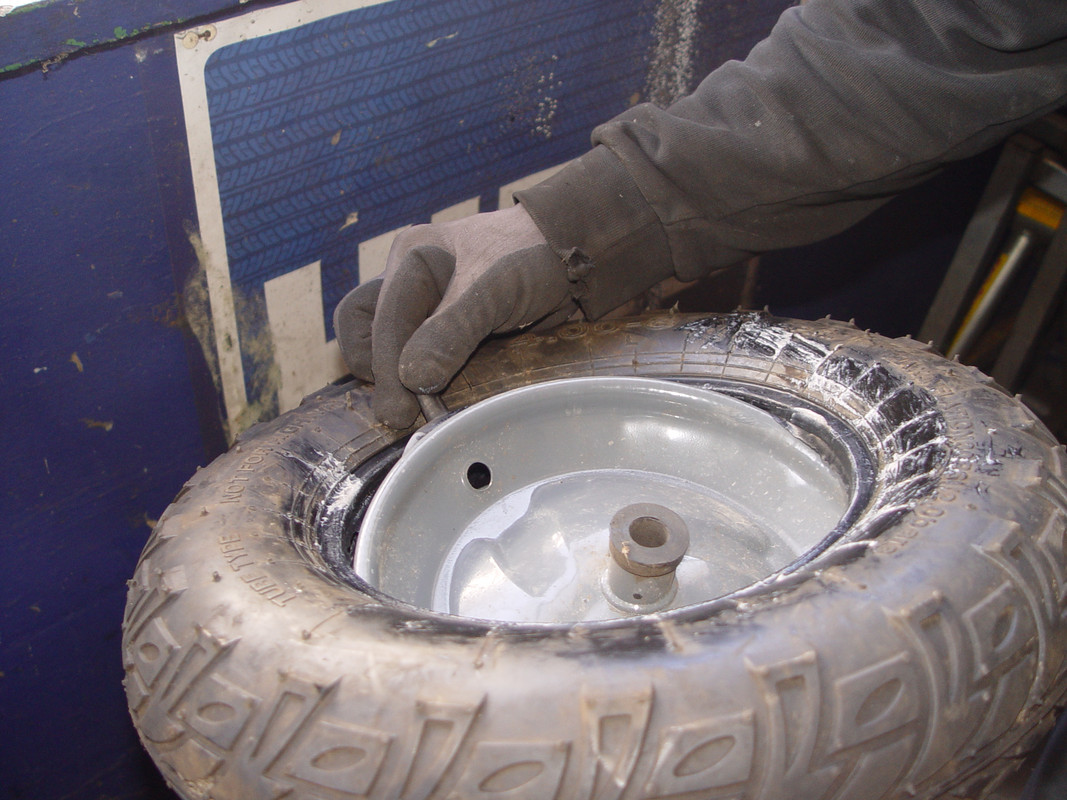
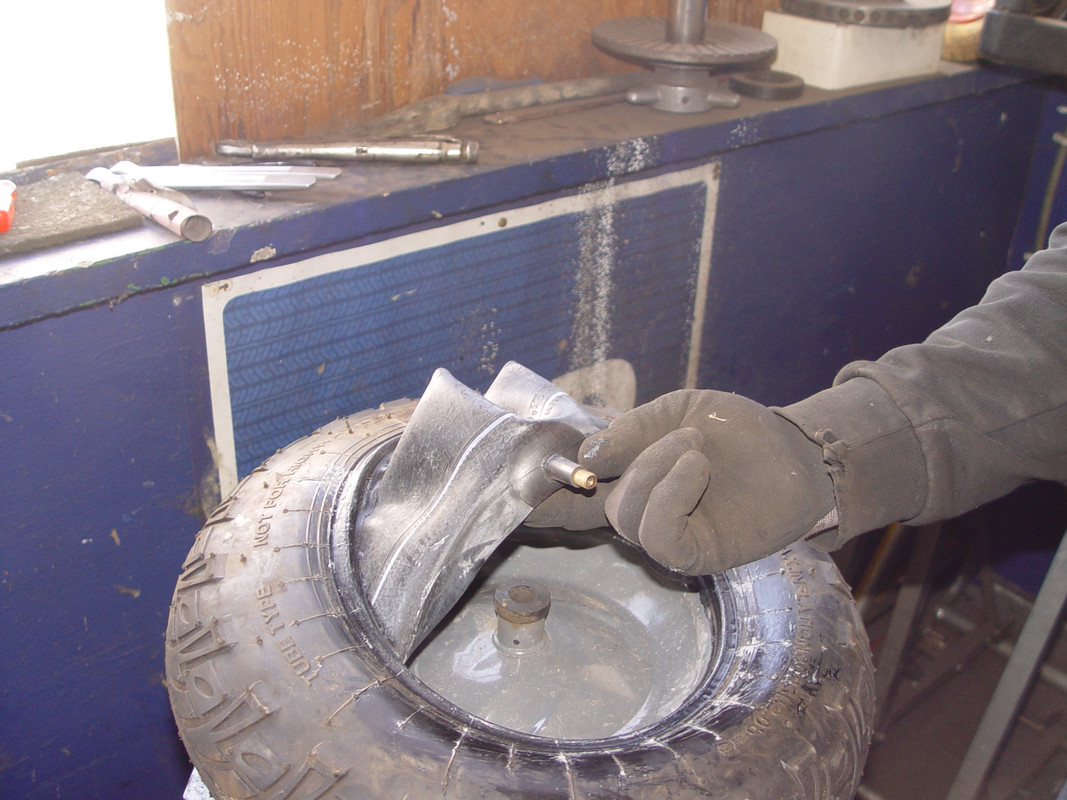
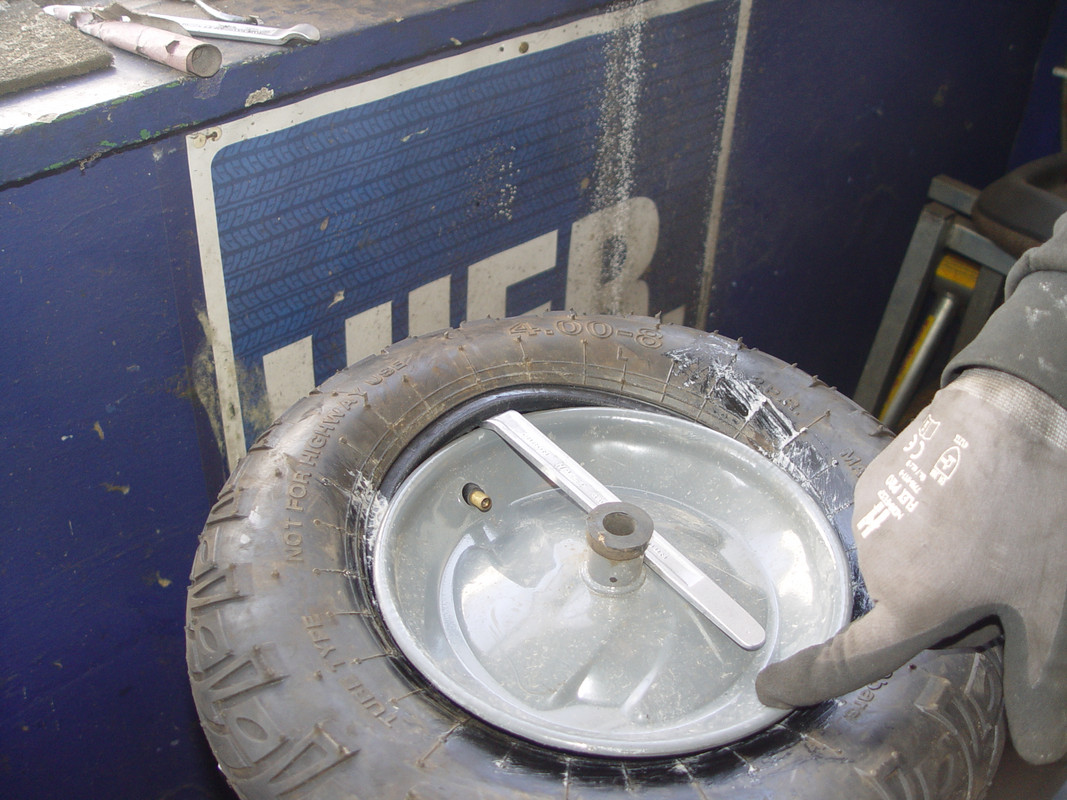
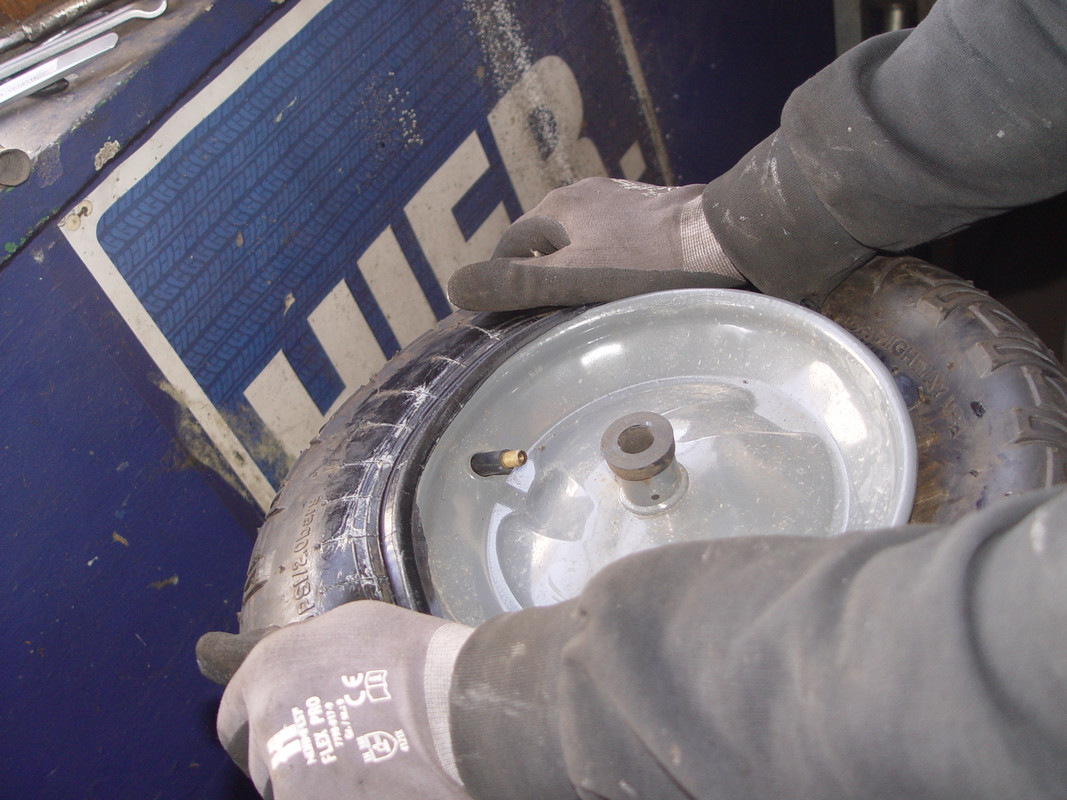
Then, the cover can simply be lifted, the valve of the tube can be pushed back and the tube can be easily removed.
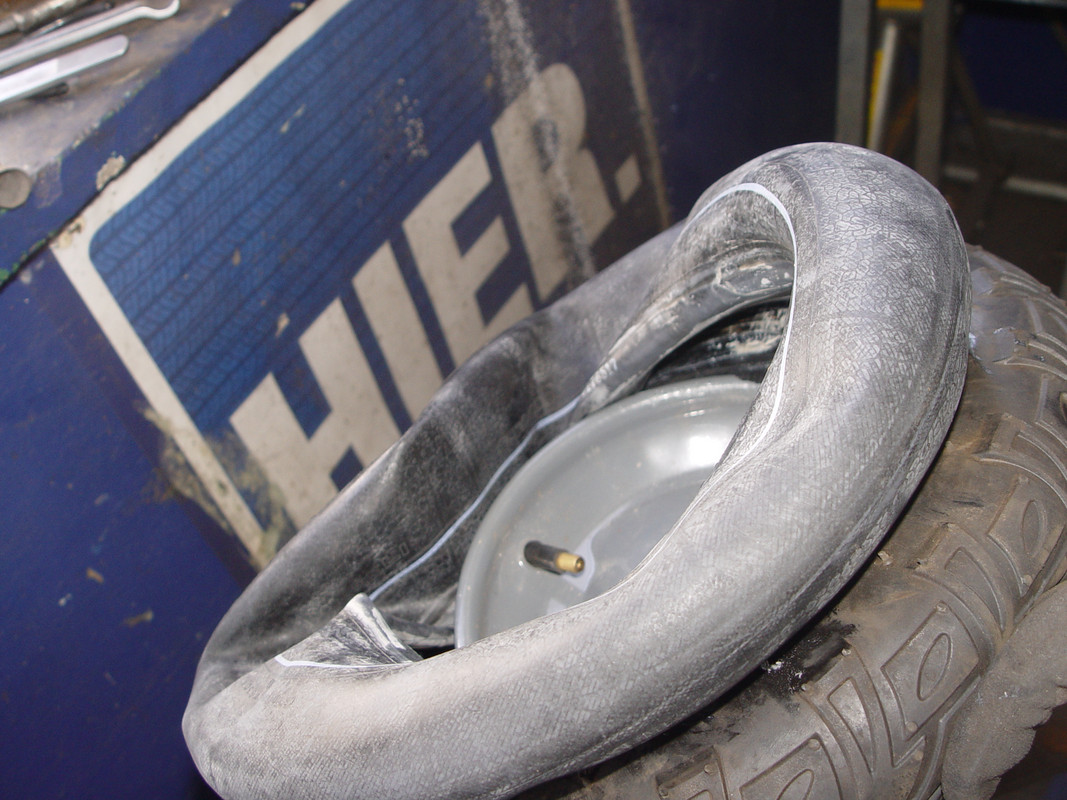
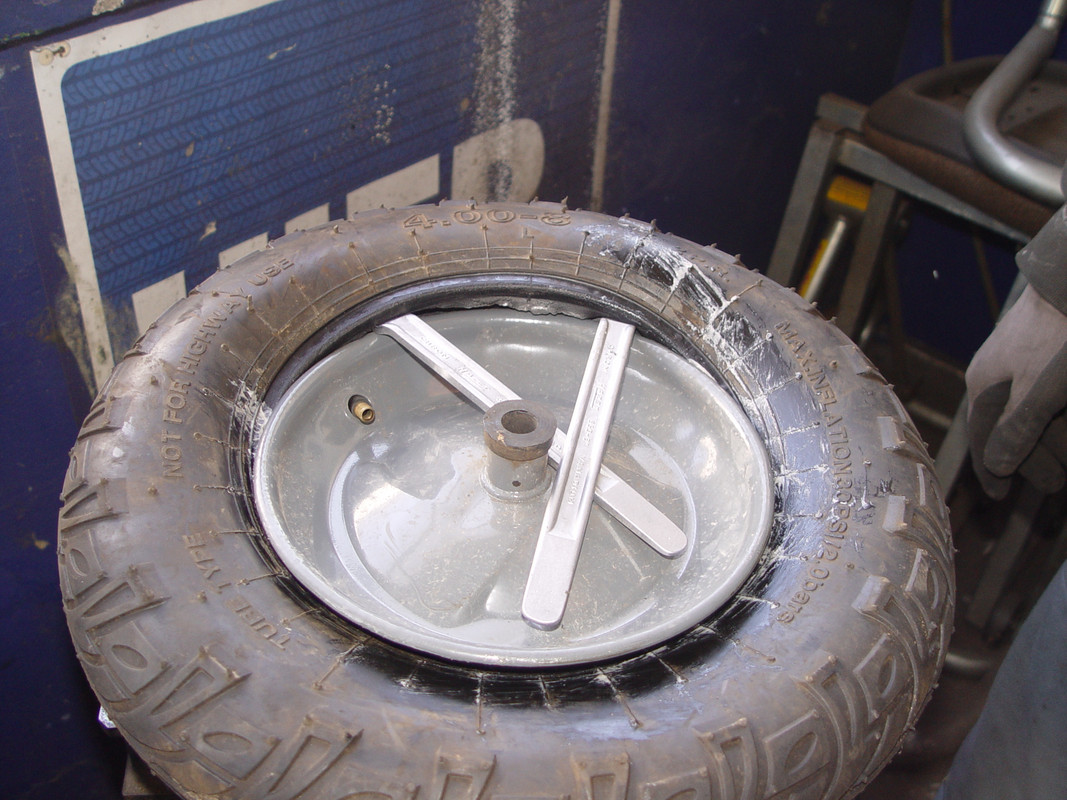
During remounting, the cover is raised. Again, if it is well greased, it makes the work easier and reduces the risk of damage to the rim, tube or cover. Once the cover is pulled onto the rim on one side, it can be easily angled and the new tube can be pulled in, starting at the valve.
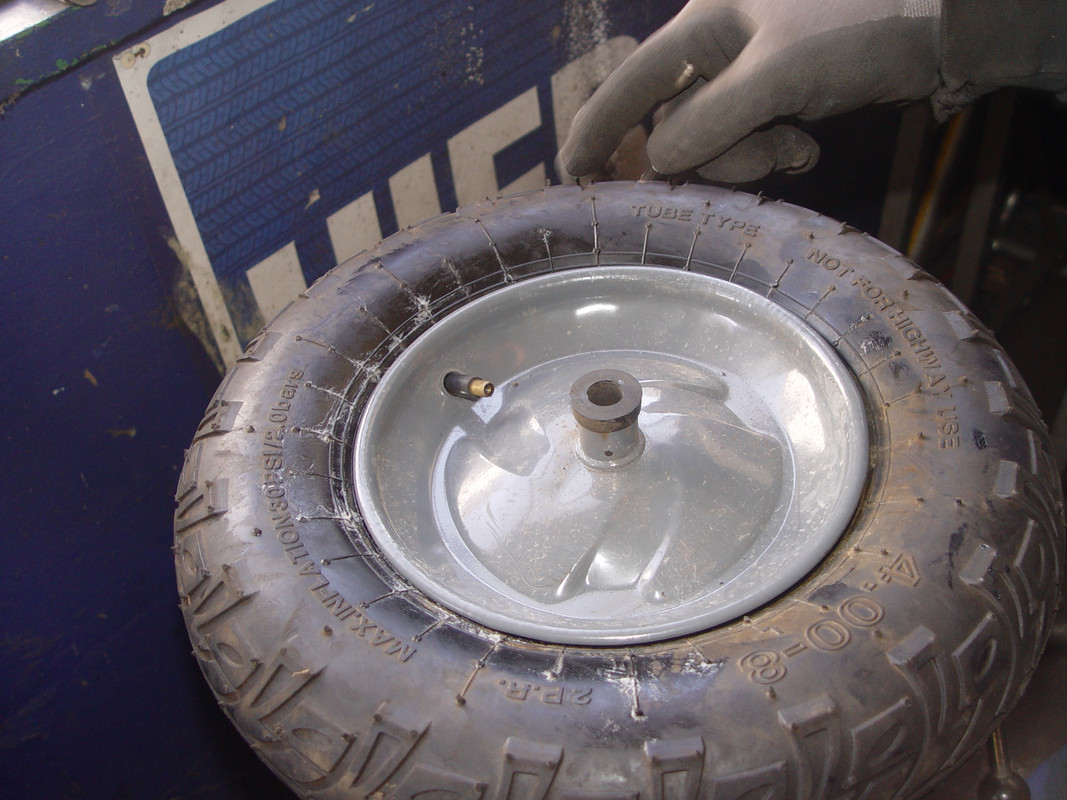
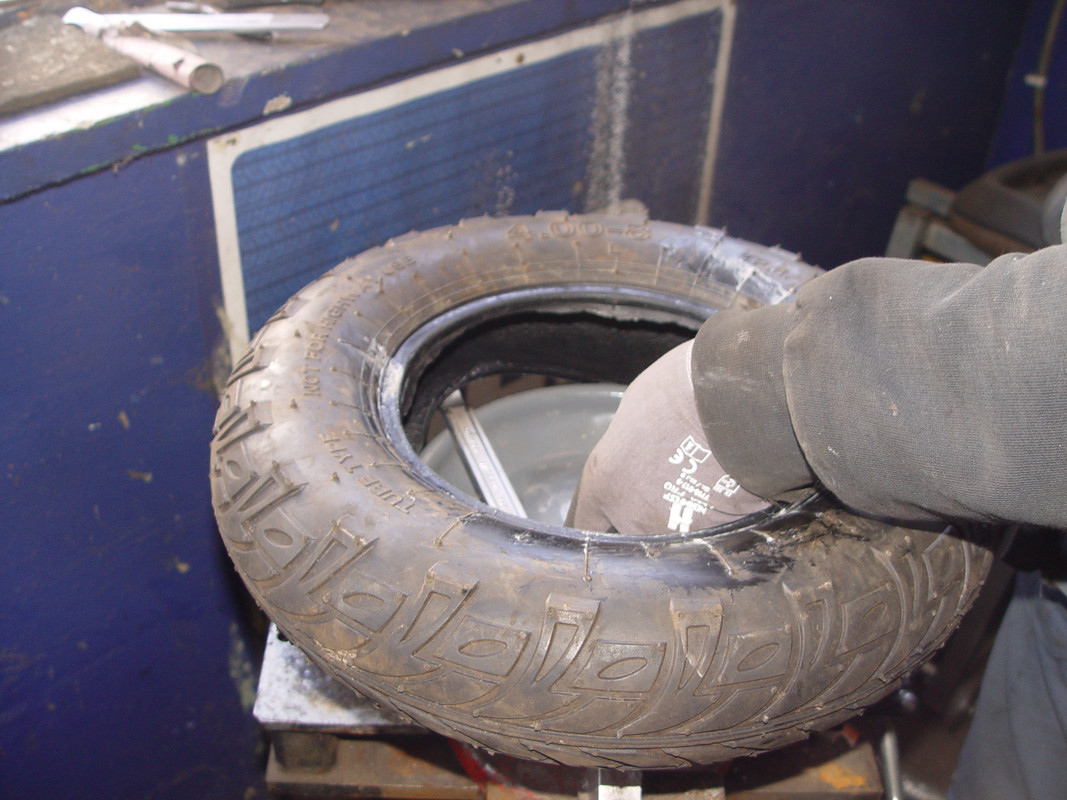
And now just enough air.
The mounting air pressure for small tyres is specified by the manufacturer. This can be looked up on the corresponding manufacturer websites or also requested from the tyre wholesaler.
How do I recognise the quality?
Very simple – you can smell quality on small tyres!! The less they smell, the better the quality. This applies to both tyres and tubes. The thickness of a tube alone, on the other hand, does not say anything about its loading capacity. However, the thickness of a tube is a tangible criterion for its durability. On the market, there are also tubes made of synthetic rubber, which can be much thinner but just as durable as the tubes with a high proportion of natural rubber.
Preventive also applies here – the correct tyre pressure prolongs the life of the tyre.
If it's sufficient and, above all, has the optimal tread pattern, the work is made easier.
On delivery, the tyre covers seem quite deformed at first glance. Some covers can be shaped manually, for others it is sufficient to insert the tube and inflate them.
To put on the new tyre cover, the old one has to come off. Even when demounting, there is a lot to consider to avoid damaging the rim and the cover.
Preparation
The air must be completely out of the tyre. The easiest thing to do is use the valve rotator. Once the air is out, demounting can be started.
Loosening the cover works best with the mounting device. Here, you start opposite the valve, with the loosening of the cover from the rim.
Good lubrication means good driving – an old saying. Once the cover is loosened, grease is applied between the rim and the bead of the cover: assembly grease is ideal for this: This facilitates demounting as well as mounting and even the rim and cover.
The safest way is to use the mounting levers. They are rounded and with the curvature at the end they grip well in the space between the rim and the tyre.
The tool is placed next to the valve and from there you work around the rim and lever the cover over the rim edge. The better it is greased, the easier it is.
Then, the cover can simply be lifted, the valve of the tube can be pushed back and the tube can be easily removed.
During remounting, the cover is raised. Again, if it is well greased, it makes the work easier and reduces the risk of damage to the rim, tube or cover. Once the cover is pulled onto the rim on one side, it can be easily angled and the new tube can be pulled in, starting at the valve.
And now just enough air.
The mounting air pressure for small tyres is specified by the manufacturer. This can be looked up on the corresponding manufacturer websites or also requested from the tyre wholesaler.
How do I recognise the quality?
Very simple – you can smell quality on small tyres!! The less they smell, the better the quality. This applies to both tyres and tubes. The thickness of a tube alone, on the other hand, does not say anything about its loading capacity. However, the thickness of a tube is a tangible criterion for its durability. On the market, there are also tubes made of synthetic rubber, which can be much thinner but just as durable as the tubes with a high proportion of natural rubber.